Your home entrance is the first thing guests see, setting the tone for what lies beyond. An inviting and well-designed entryway not only enhances your curb appeal but also makes a lasting impression. Here are five effective ways to improve the entrance to your home, incorporating key elements such as a stylish door knocker, a functional coat rack, and strategic hooks.
1. Upgrade Your Door Knocker for a Grand Welcome
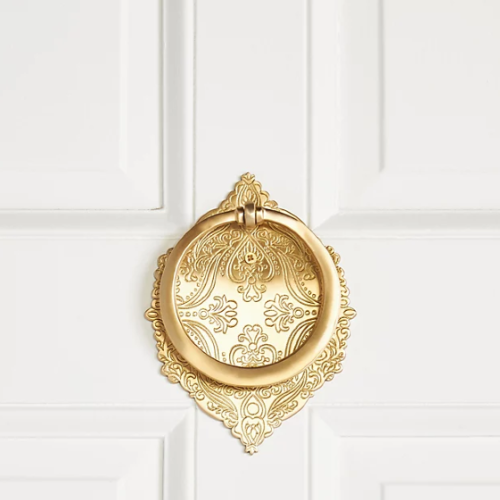
The door knocker serves as a classic and elegant accessory that can significantly enhance the aesthetics of your entrance. Upgrading to a stylish and unique door knocker instantly adds a touch of sophistication to your home. Consider choosing a design that complements your overall architecture and personal style.
Opt for materials such as brass or wrought iron for a timeless appeal. Whether you prefer a traditional lion’s head door knocker or a more contemporary geometric design, the right door knocker becomes a focal point, making a statement about your home’s character.
A door knocker is not just a decorative element; it’s a functional piece that announces the arrival of guests with a distinctive sound. Make sure to install it at a height that is easily reachable for everyone, creating a seamless blend of form and function.

2. Create an Organised Space with a Stylish Coat Rack
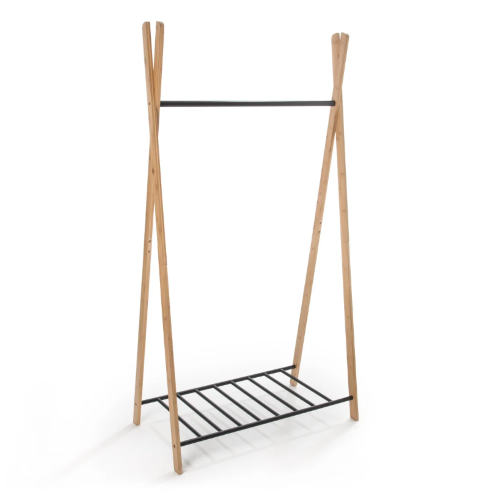
A cluttered entrance can leave a negative impression on your guests. Introducing a well-designed coat rack not only adds a functional element but also helps keep your entryway tidy and organised. Choose a coat rack that complements your interior style while providing ample space for coats, hats and scarves.
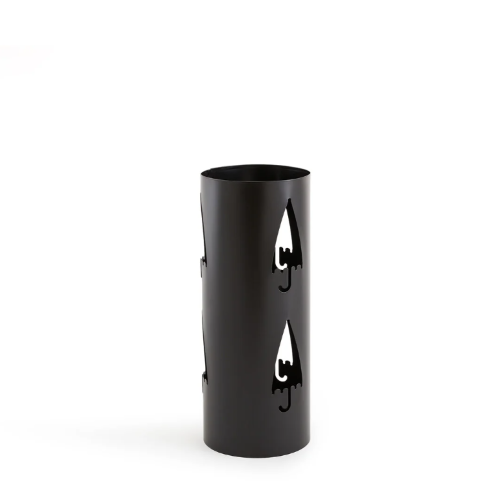
Consider a wall-mounted coat rack if space is limited, ensuring it doesn’t obstruct the flow of movement. For larger entryways, a freestanding coat rack can become a statement piece. Wooden or metal coat racks offer durability while incorporating additional storage options like shelves or umbrella stands can enhance practicality.
A well-organised coat rack not only serves your guests by providing a designated space for their belongings but also contributes to a visually appealing entrance that reflects your attention to detail.
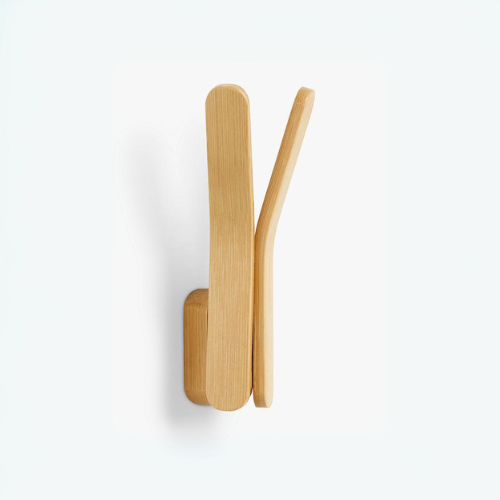
3. Maximise Space with Strategic Hooks
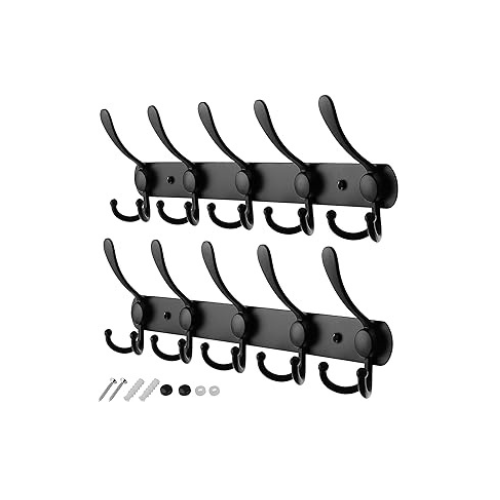
Hooks are versatile additions that can transform your entryway by maximising vertical space. Install coat hooks near the entrance to hang keys, bags or even decorative elements like hats and small artwork. Strategic placement of hooks helps to keep essential items within easy reach while preventing clutter on surfaces like floors, tables or countertops.
Choose hooks that complement the overall theme of your entryway and are strong enough to hold various items without compromising on style. Whether you prefer sleek and modern coat hooks or vintage-inspired designs, these small details can make a big impact on the overall aesthetic of your entrance.
Consider creating a designated area for each family member, allowing everyone to personalise their space while maintaining an organised look. This not only streamlines your daily routines but also adds a personalised touch to your entryway.
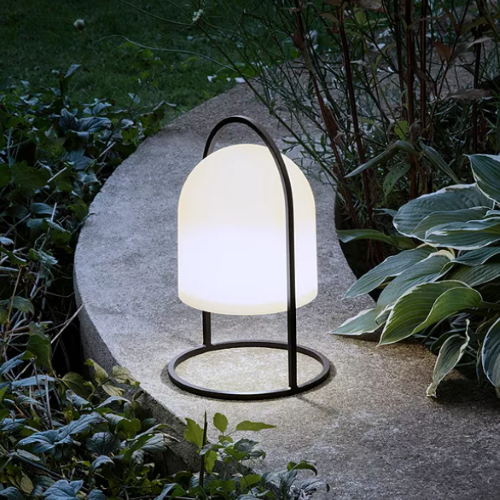
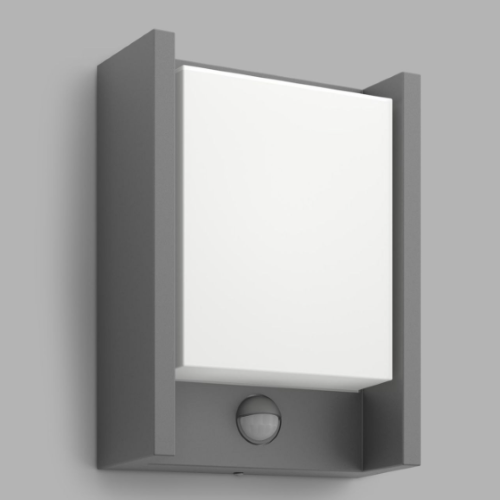
4. Illuminate Your Entrance with Thoughtful Lighting
Proper lighting can dramatically enhance the ambience of your entrance, making it more inviting and safe. Install outdoor lighting fixtures that complement your home’s architecture and provide adequate illumination for the entryway. This not only ensures a warm welcome for guests arriving in the evening but also enhances security.
Consider options like wall sconces, pendant lights or even stylish lanterns to add a decorative touch. Motion-activated lights are practical for enhancing security while being energy-efficient. Pay attention to the colour temperature of the light bulbs to create a welcoming atmosphere without being too harsh or too dim.
Additionally, incorporating landscape lighting along pathways and around planters can further elevate the overall aesthetic appeal of your entrance, making it stand out day and night.
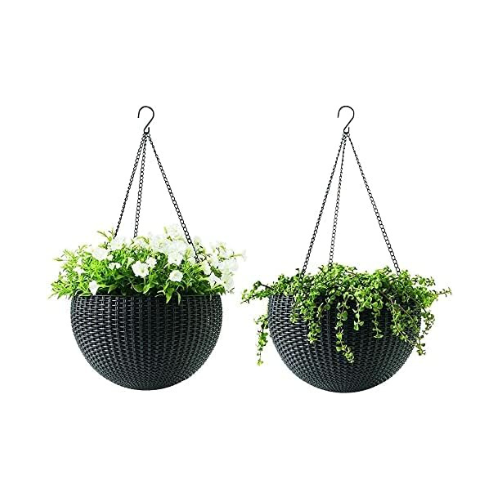
5. Integrate Greenery for a Fresh Welcome
Bringing nature into your entryway adds a refreshing and vibrant touch. Incorporate potted plants, hanging baskets or a small garden near the entrance to create a lively and welcoming atmosphere. Choose plants that thrive in your climate and require minimal maintenance to keep your entryway looking pristine.
If space allows, consider placing a stylish planter or a row of plants along your entrance path. This not only adds visual interest but also guides guests toward the front door. Make sure to choose planters that complement your exterior colour scheme and architectural style.
Incorporating greenery not only enhances the aesthetic appeal of your entrance but also contributes to a positive and calming atmosphere. Additionally, plants can help improve air quality and create a more inviting environment for both residents and visitors.
Door Knocker FAQs
How to attach a door knocker?
To attach a door knocker, start by deciding where you want it on your door. Then, mark the screw holes with a pencil. Next, carefully drill pilot holes to prevent the wood from splitting. Once you have done that, position the knocker over the holes and secure it in place using the screws provided with the knocker. Make sure it is firmly attached before testing it out.
How to attach a door knocker to UPVC door?
Attaching a door knocker to a uPVC door is quite similar to attaching it to a wooden door. However, it is essential to ensure you have the right kind of knocker suitable for uPVC surfaces. Then, follow the same steps as you would for a wooden door. Begin by marking the screw holes, drilling pilot holes and securing the knocker in place with appropriate screws designed for uPVC.
How to attach a door knocker without screws?
If you prefer not to use screws, there are adhesive options available specifically for attaching door knockers. These adhesives provide a strong bond without the need for drilling or screwing into the door. Simply follow the instructions provided with the adhesive carefully, ensuring proper surface preparation and allowing sufficient time for bonding.
How to remove a door knocker?
Removing a door knocker is relatively straightforward. Start by unscrewing the screws that hold it in place on the door. If adhesive was used to attach the knocker, gently pry it off using a putty knife or similar tool. Be careful not to damage the door surface while removing the knocker.
How to clean a door knocker?
Keeping your door knocker clean is essential for maintaining its appearance. Start by mixing warm water with a mild detergent. Then, use a soft cloth or sponge to gently scrub the knocker, removing any dirt or grime buildup. After cleaning, rinse the knocker with clean water and dry it thoroughly with a soft towel to prevent water spots.
How to clean a brass door knocker?
Brass door knockers can develop tarnish over time, but they can be restored to their former shine with a little effort. Create a paste by mixing equal parts of flour, salt and vinegar. Apply the paste to the brass knocker and let it sit for 10-15 minutes to allow the ingredients to work on the tarnish. Then, use a soft cloth to gently scrub the knocker, focusing on any areas with stubborn tarnish. Rinse the knocker thoroughly with water and dry it with a soft cloth to reveal its renewed shine.
Coat Rack FAQs
How to attach a coat rack to the wall?
Attaching a coat rack to the wall is a straightforward process. Start by determining the desired location for the coat rack. Use a level to ensure it will be straight. Then, mark the positions for the screws or mounting brackets. Drill pilot holes at these marks to prevent the wall from splitting. Finally, secure the coat rack to the wall using screws or mounting hardware provided with the rack.
How high should a wall mounted coat rack be?
The ideal height for a wall-mounted coat rack typically ranges from 54 to 68 inches above the floor. This height allows for easy access to the coats and ensures that longer coats will not drag on the floor. However, you may adjust the height based on personal preference and the average height of household members.
How far apart should hooks be on a coat rack?
The distance between hooks on a coat rack depends on the size of the rack and the number of hooks available. A general rule of thumb is to space the hooks evenly, typically 4 to 6 inches apart. This spacing ensures that each coat has enough room and prevents overcrowding. Adjust the spacing based on the size of the coats and the available space on the rack.
How many coats fit on a coat rack?
The number of coats that can fit on a coat rack depends on several factors, including the size of the rack and the spacing between hooks. A standard-sized coat rack with evenly spaced hooks can typically accommodate 4 to 6 coats comfortably. However, larger racks or racks with additional hooks may hold more coats. It is essential not to overcrowd the rack to prevent damage and ensure easy access to the coats.
How to hang a coat rack without nails?
If you prefer not to use nails, you can hang a coat rack using adhesive hooks or mounting tape. Clean the wall surface thoroughly before applying the adhesive to ensure proper adhesion. Follow the manufacturer’s instructions for applying and securing the adhesive hooks or mounting tape. Make sure the weight capacity of the hooks or tape is sufficient to support the coat rack.
Will no more nails hold up a coat rack?
No More Nails adhesive is suitable for lightweight objects and may not provide sufficient support for a heavy coat rack. It is essential to consider the weight of the rack and the number of coats it will hold before using this adhesive. For heavier coat racks, it is recommended to use screws or heavy-duty mounting hardware for secure attachment.
Where can I buy a coat rack?
Coat racks are available at various home improvement stores, furniture stores and online retailers. You can find a wide selection of coat racks in different styles, sizes, and materials to suit your preferences. Some popular retailers where you can buy coat racks include IKEA, Amazon and Wayfair.
Hooks FAQs
How to use command hooks?
Command hooks are versatile and easy to use. They are an excellent way to easily add hooks into your home entrance. Start by cleaning the surface where you will be placing the hook with rubbing alcohol and a clean cloth to ensure proper adhesion. Then, remove the adhesive backing from the hook and press firmly onto the cleaned surface. Hold the hook in place for about 30 seconds to ensure the adhesive bonds properly. Wait for at least one hour before hanging any items on the hook to allow the adhesive to fully set. To remove, follow the steps outlined below for removing Command hooks without damaging your walls.
How to remove command hooks?
Removing Command hooks is a straightforward process that does not damage your walls. Start by gently pulling down on the tab directly beneath the hook. This tab is designed to stretch and release the adhesive from the wall. Pull the tab straight down slowly until the adhesive strip releases completely. If needed, you can use dental floss or a fishing line to slide behind the adhesive strip to help release it from the wall without damaging the paint. Once removed, stretch the tab downwards at least 12 inches to release the remaining adhesive residue.
Transform The Entrance To Your Home
Transforming the entrance to your home involves a thoughtful combination of aesthetics and functionality. Upgrading your door knocker, introducing a stylish coat rack, strategically placing hooks, illuminating the space with thoughtful lighting and integrating greenery all contribute to creating an entrance that leaves a lasting positive impression. By paying attention to these key details, you not only enhance your home’s curb appeal but also create a welcoming atmosphere for everyone who steps through your front door.
*This blog contains affiliate links.

