Quick And Easy Coconut Chocolate Bars
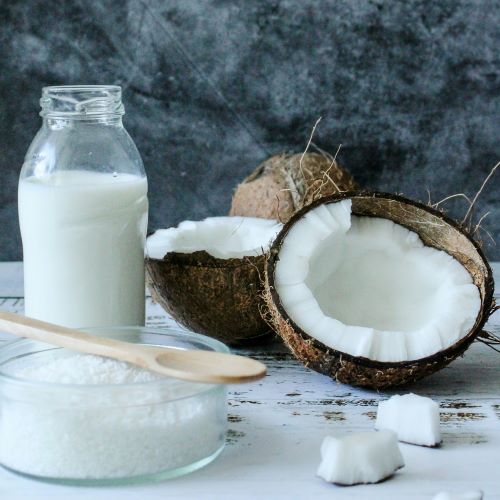
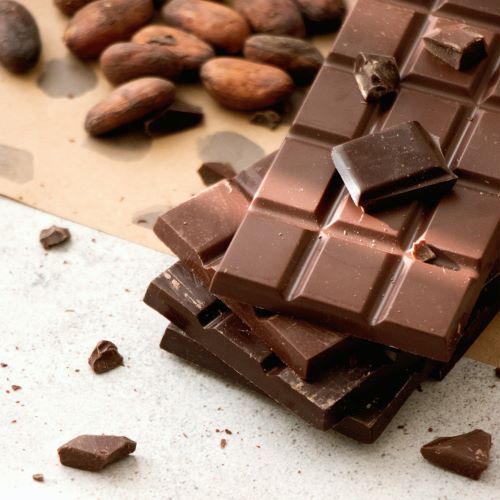
Coconut Chocolate Bars are the ultimate indulgence for any sweet tooth craving! Whether you are in need of a quick pick me up snack, searching for an easy baking idea, or looking to add a special treat to your kids’ lunchboxes, these bars have got you covered. With their heavenly combination of rich chocolate and tropical coconut flavours, they offer a delightful escape from the everyday hustle and bustle. Plus, their simplicity makes them a breeze to whip up, perfect for busy schedules or impromptu gatherings.
Instructions For Coconut Chocolate Bars:
Prepare the Coconut Mixture:
Preparing the coconut mixture is the first step to creating these mouthwatering Coconut Chocolate Bars. Start by grabbing a mixing bowl and adding in your shredded coconut, sweetened condensed milk and a dash of vanilla extract for that extra flavour boost. Now, give it all a good stir until everything is beautifully blended together. You will want to make sure there are no dry spots left, so take your time to mix it up well.
Press into Pan:
Once your coconut mixture is ready, it is time to press it into the baking pan. Grab a square baking pan and line it with parchment paper, leaving some hanging over the edges for easy lifting later on. Now, pour your coconut mixture into the pan and spread it out evenly using a spatula or the back of a spoon. Press down firmly to create a solid base for your bars – this will help everything hold together perfectly.
Chill in the Freezer:
Now, pop the pan into chill in the freezer. Let the coconut mixture solidify in there for about 30 minutes or until it is nice and firm. This step is crucial for ensuring your bars hold their shape and do not fall apart when you slice into them later.
Melt the Chocolate:
While your coconut mixture is chilling, it’s time to melt the chocolate. Grab a microwave-safe bowl and toss in your semi-sweet chocolate chips along with a bit of coconut oil. Pop it in the microwave and heat in 30-second intervals, stirring in between, until your chocolate is smooth and velvety.
Layer the Coconut Chocolate:
Once your coconut mixture is firm and your chocolate is melted, it is time to layer on the chocolate. Take your pan out of the freezer and pour that luscious melted chocolate all over the top of your coconut layer. Use your spatula to spread it out evenly, making sure to cover every inch for maximum chocolatey goodness.
Chill The Coconut Chocolates Again:
Pop the pan back into the freezer and let it chill for another 30 minutes, or until the coconut chocolates are nice and set. This will give your bars that perfect snap when you bite into them.
Slice and Serve Your Coconut Chocolate Bars:
When your chocolate layer is firm, it is finally time to slice and serve your coconut chocolate bars. Use the parchment paper overhang to lift the bars out of the pan and onto a cutting board. Grab a sharp knife and slice them into squares or bars – whatever size tickles your fancy. Then, sit back, relax, and enjoy every blissful bite of your homemade Coconut Chocolate Bars!
Serve them as a delightful snack or dessert, and watch as they disappear within moments. Store any leftovers in an airtight container in the refrigerator for up to one week.


Tips and Variations For Coconut Chocolate Bars:
For an extra crunch, try adding chopped nuts such as almonds or pecans to the coconut mixture. Experiment with different types of chocolate for the top layer, such as milk chocolate or dark chocolate, to suit your taste preferences. Drizzle melted white chocolate over the top of the bars for an elegant finishing touch. If you are short on time, you can skip the freezer step and simply refrigerate the bars until the chocolate layer sets.
Ingredients For Coconut Chocolate Bars:
2 cups shredded coconut (unsweetened)
1 cup sweetened condensed milk
1 teaspoon vanilla extract
2 cups semi-sweet chocolate chips
2 tablespoons coconut oil
Pinch of salt
How To Make Coconut Chocolate Bars
With just a handful of simple ingredients and minimal effort, you can whip up a batch of these irresistible Coconut Chocolate Bars to delight your senses and satisfy your sweet tooth. Whether you are sharing them with friends and family or indulging in a solo treat, these yummy delights are sure to become a favourite.